Module 8: Time, Shapes, and Fractions as Equal Parts of Shapes
*All Problem Sets have been updated as of 12/21/14 in google drive.
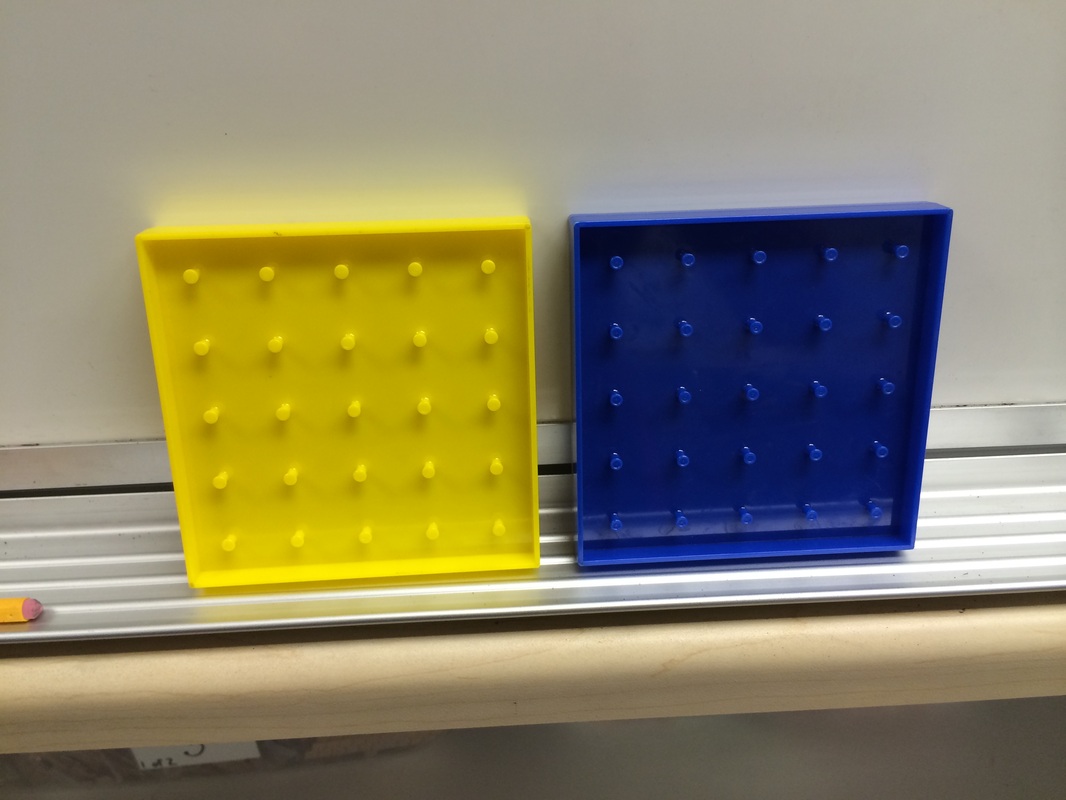
This module has 16 lessons. Key items needed are: pattern blocks, geoboards, rubber bands, student clocks (optional), and a demonstration clock. If you don't have enough or any Geoboards and you DO have iPads, there is a free app called Geoboards by The Math Learning Center. It is pretty cool. If you plan to use the Geoboard app, download it to your iPads ahead of time. For 8.13 and 8.14 you will need to run the clock template (it's in 8.13). Save it after the kids use it for 8.13 so they can use it for 8.14.***
8.1 - You need to make 4 charts. See the lesson. Save the charts for future lessons. Don't write the attributes down until after you draw the shapes and ask students to describe them.
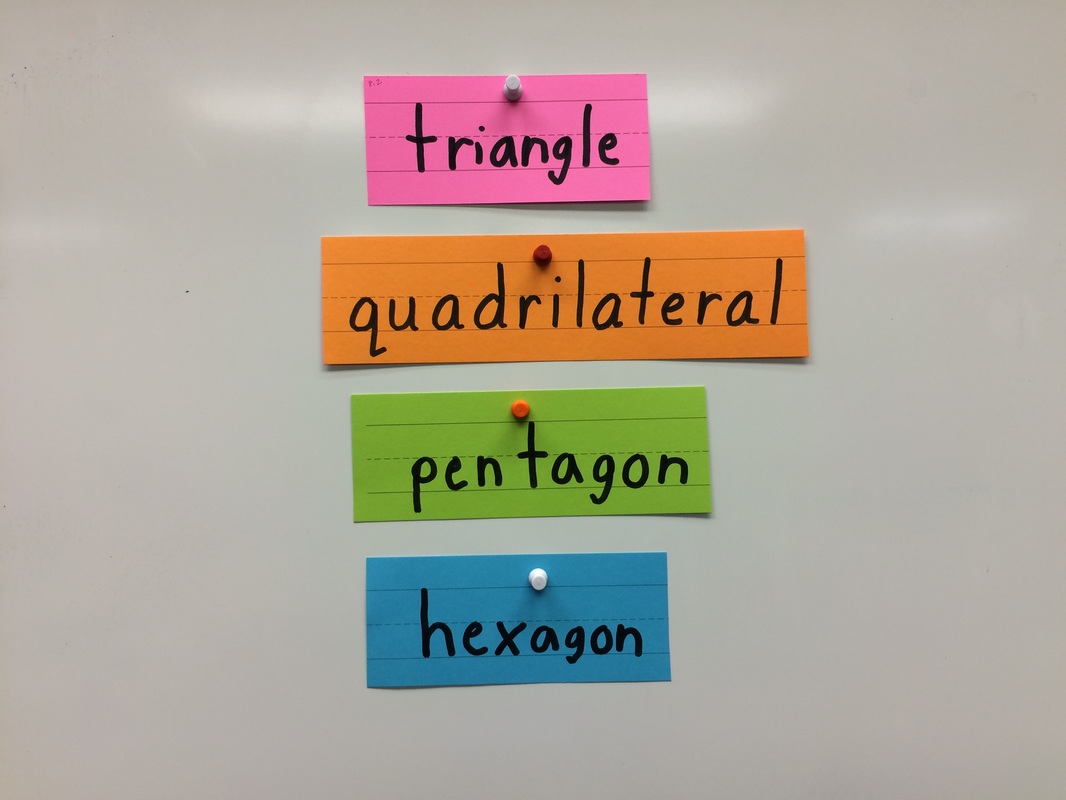
8.2 - 4 charts from 8.1, sentence strips with shape names (triangle, quadrilateral, pentagon, and hexagon). In the edcaliber Materials and Templates folder for the 2nd grade Engage NY resources, you will find a folder in the Materials folder labeled 8.2 charts. There are ppt charts as well as jpg charts. Today you need containers of broken up spaghetti for each group of kids. They build 3, 4, 5, and 6 sided polygons with the random pieces. Each student needs a dark piece of 9x12 construction paper to place the spaghetti on.
8.3 - Large chart paper with four sections (triangles, quadrilaterals, pentagons, hexagons) titled: Polygons! Each student needs an 8.5x11 sheet of paper folded into 4 sections to draw polygons. I recommend cutting the paper ahead of time and passing out 4 little rectangles to each child or one at a time. Save time on cutting. Model how to draw a shape using a straight edge on your whiteboard if the kids don't know how to use a ruler to draw a straight line. It may take kids a while to draw a simple 3, 4, or 5-sided shape. Tip: Ask them if they want to learn a shortcut. Put 3 dots on the board and tell them you are going to play "dot to dot" and then discuss what you made and see if they can tell you how many dots they would need for a 4, 5, or 6-sided shape. It got students finishing the tasks quicker than if they had to randomly try to place a dot and then draw.
8.4 - 4 charts from 8.1
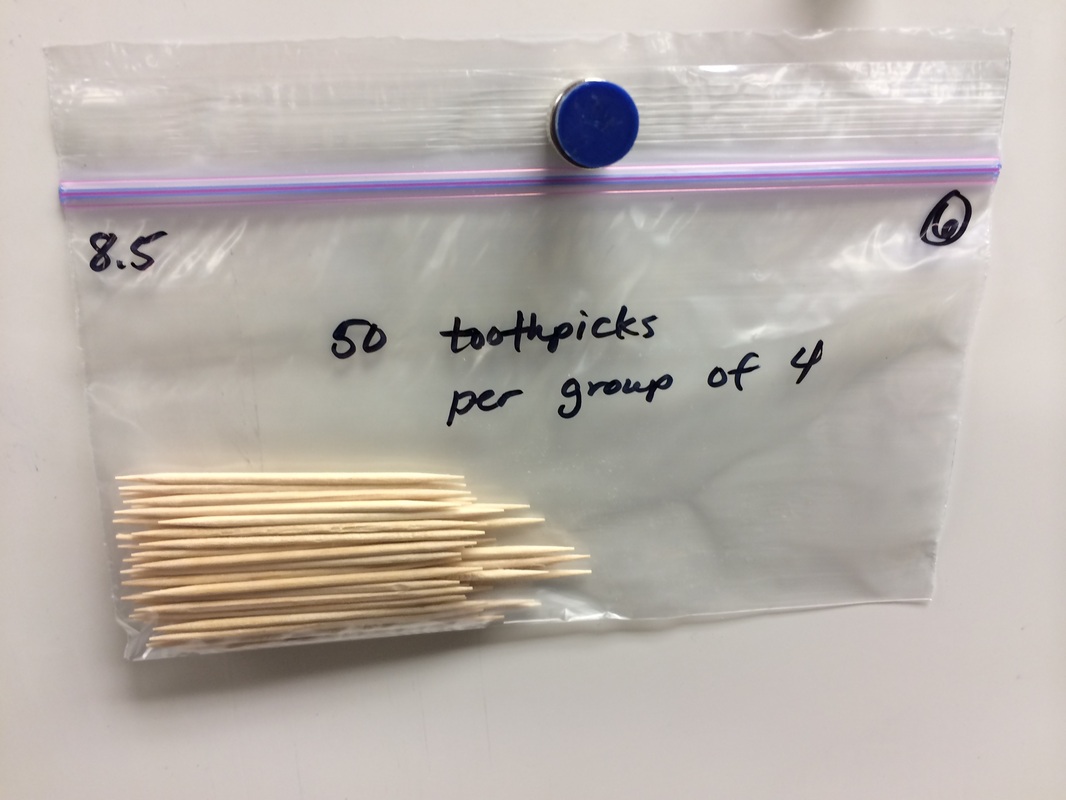
8.5 - Today students related a square to a cube. Definitely use marshmallows. I threw mine away because they were all sticky and had to substitute with Play-Doh; however, forming balls of the same size was a bit tricky. I'm thinking maybe I'll get skewers and the large marshmallows as a review or follow up. They would love it and it would be easier to manipulate and build. **For the Problem Set, it would be good to give students a cube (1 inch) or dice so they can answer the questions requiring them to reference it. You can buy them at Amazon.com
8.6 - Save the student tangram template that they cut out for lesson 8.7.* When the students cut out the Tangram, go slowly, step by step. There are kids who couldn't follow directions even when we went slowly so have a few extra templates on hand for them. I recommend having each child write their initials or name on their 7 pieces. Use marker so it's easy to see. They end up combining a square and the two small triangles with a partner so if they are marked as theirs it's easy to separate. Not only that, but towards the end of the lesson, they bring those 3 pieces to the carpet to try to construct a larger square with the rest of the class. It will be easy and fast to separate if they are labeled. If you have the kids build the "giant" square using tangrams on the carpet, have the students make the triangle first and bring it to the floor. They should slide the triangle to the class shape otherwise it will take forever for them to reconstruct their triangle! For the Problem Set, they will need a set of tangrams or the one they cut out and the words: Parallelogram, Square, and Triangle written somewhere for them to copy those words down for Problem 1.
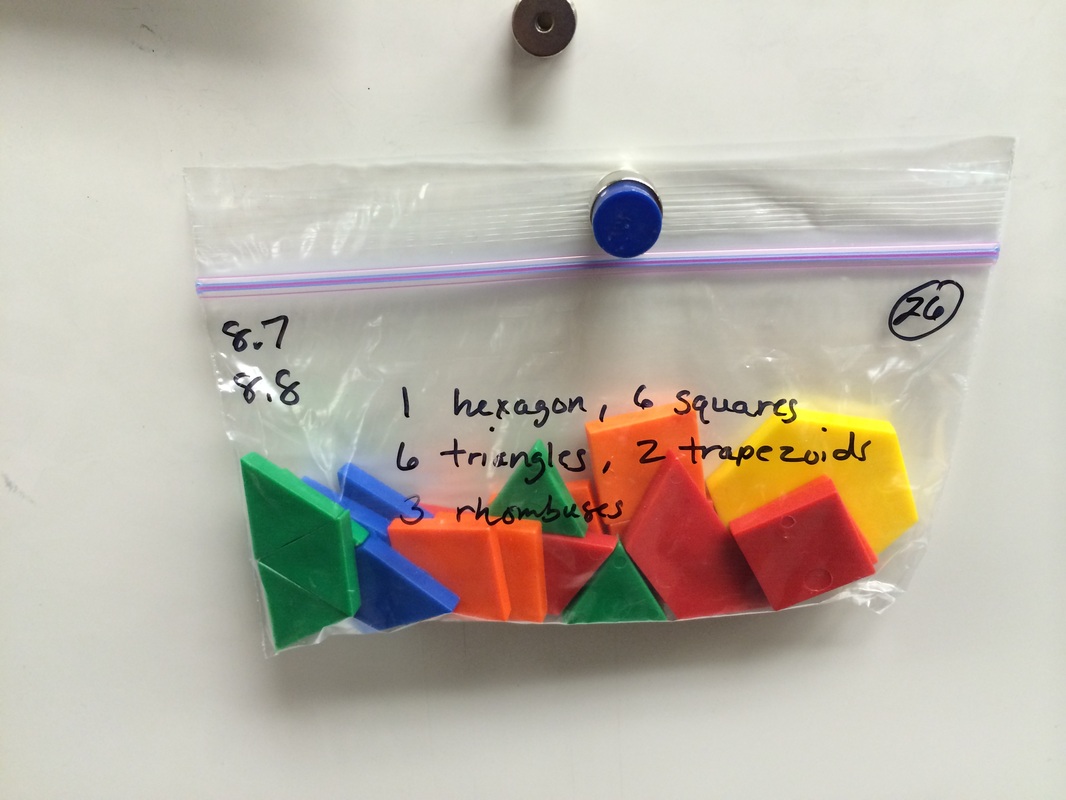
8.8 - Students use pattern blocks to create composite shapes.
8.9 - Collect colored circle from students at the end of the lesson to use for 8.10. The Shaded Template is embedded in the ppt for this lesson so if you don't want to run copies and waste paper you don't have to.
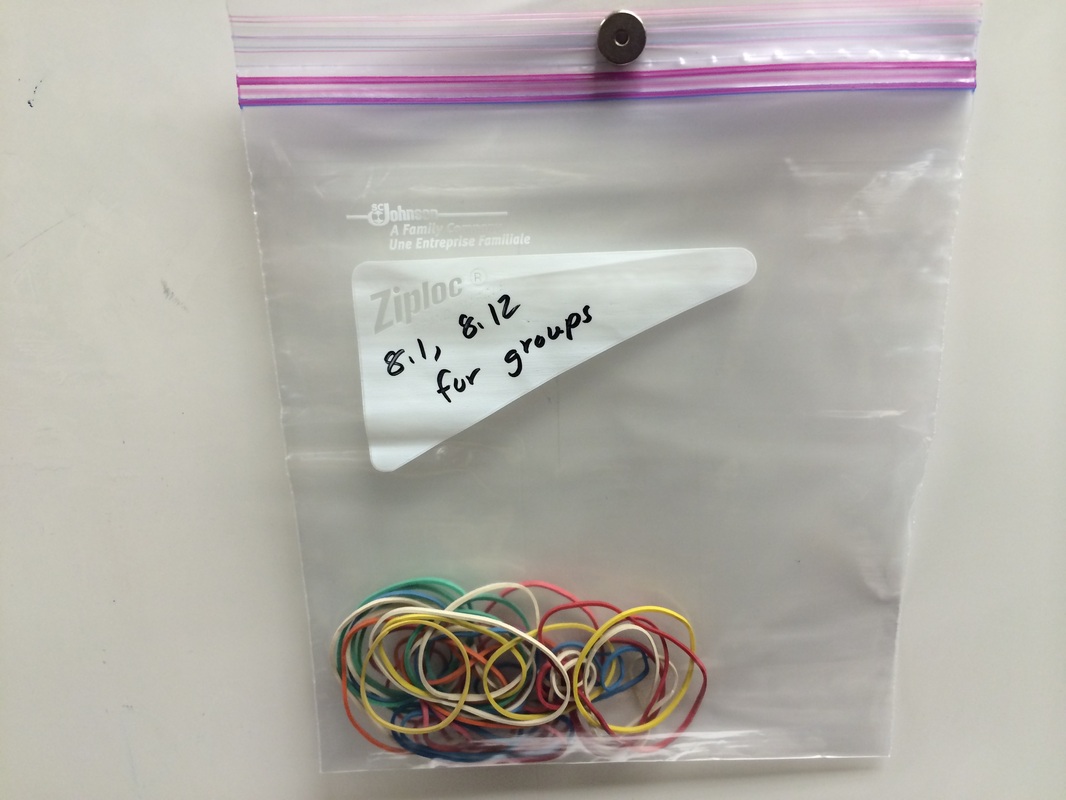
8.11 - In the lesson, pg. 8.C.34, Part 3 is called "Drawing a Whole Circle from One Part to the Whole". They start talking about 1 fourth of a square, so this section should be about "Drawing a Whole Square...". In my ppt, this has been corrected to clear up any confusion. You should also make about 3 sets of the Labeled Fraction Templates on sturdy paper, cut them out, separate them by circle sets and rectangle sets using paperclips. You will need the circle sets for Part 2 of the Concept Development and the rectangle sets for Part 3 of the Concept Development. A good idea might be to put the sets in small Ziploks. Students do NOT need their "own" sets of the labeled fraction templates.
8.12 - You need to run copies of the square and rectangle templates. They are in the Mod 8 folder in Google Drive. If you follow the ppts, I made the squares blue, one set of rectangles (square) orange, one set of rectangles red, and one set green. Half the class needs blue squares (each template has 6 squares on it, so maybe 5 copies per class), half of the class needs an orange square (divided with a line down the middle for so it looks like two rectangles). Each template has 6 rectangles on it, and each student needs a red and a green rectangle (so run 5 red and 5 green). You will need to cut out these shapes to have ready for student use. *To save time, I'm only giving pairs 1 green rectangle and 1 red rectangle. I cut the rectangles out for the students. I plan to make a Ziplok bag for each pair that will contain: 1 blue square, 1 orange "square (divided into rectangles), 1 red rectangle, and 1 green rectangle.
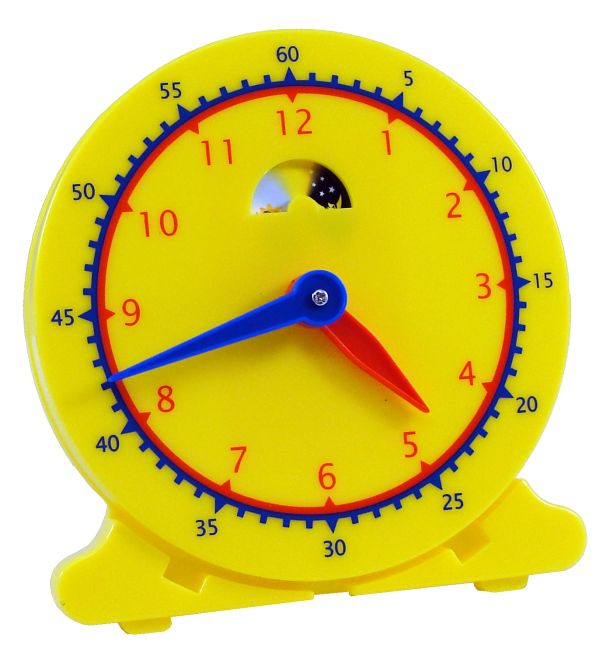
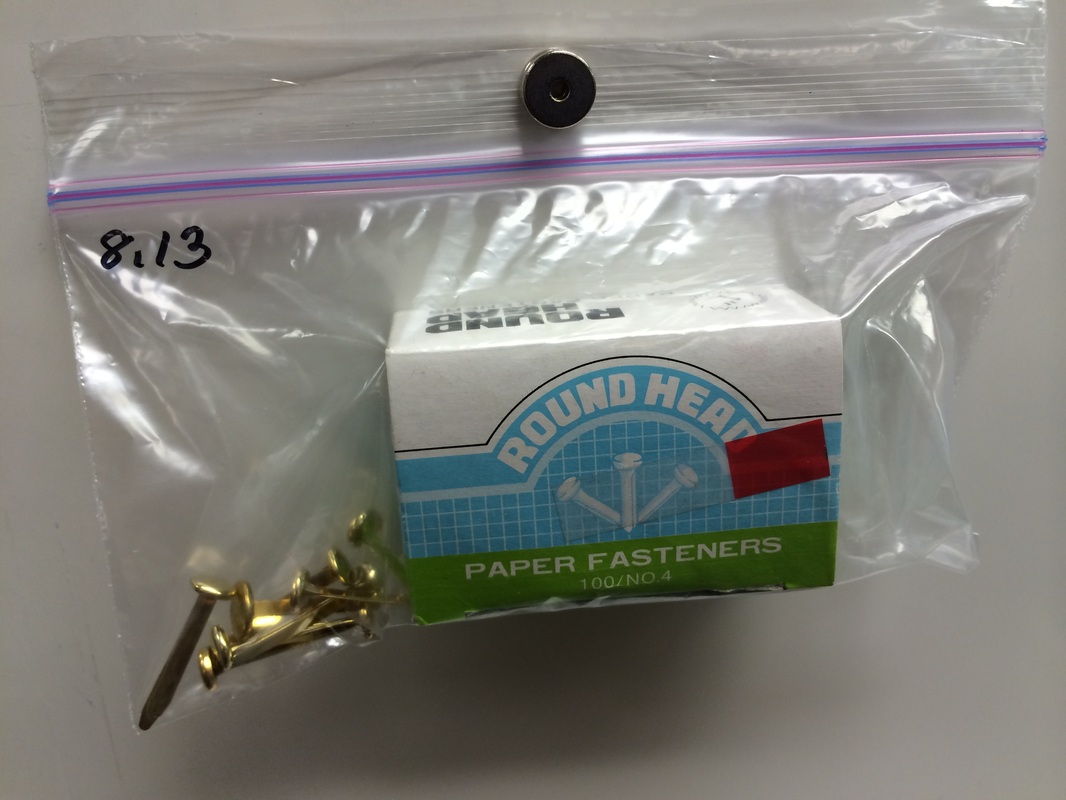
8.13 - Sentence strips to post vocabulary: half past, a quarter past, and a quarter to. Run the clock template on cardstock for durability. You may want to use a highlighter to highlight the dotted line and tell the students to cut on that line. Even after modeling, I had some students cut all the way to the dark line. Use a thumbtack to punch a hole in the center of the clock and the two hands so the kids can easily push the brad through the thick paper. In Part 3, the lesson says "Show me 12 o'clock. Now move your minute hand to the 3." This time would be 3:15. Then later in the section it says, "Your clock should still show a quarter past 3." The ppt is consistent and says in the beginning of part 3, "Show three o'clock." Later in the section it says, "You clock should still show a quarter past 3."
8.14 - The students practice telling time to 5 minutes in this lesson.
8.15 - The Story Template is embedded in the ppt so you do not need to waste paper and make copies for the students unless you want to do it. Each story page is saved as a jpg file in a Mod8 template folder so you could upload the pages into nearpod and the kids could write the time on the screen and circle a.m. or p.m. or the students could open the file in Notability and make notes on the story like it asks you to do.
8.16 - This lesson is about elapsed time to the half hour and hour. It covers going from AM to PM so that may be a bit of a challenge. Students can use the arrow way and counting on to solve and calculate the elapsed time. You can use student clocks during the lesson. Students can work in pairs to share clocks. For the Problem Set, students may wish to use a student clock to help them solve the elapsed time problems.
Pacing Tips:
8.1-8.5 - Shape Attributes
8.13 - 8.16 - Telling Time
*All Problem Sets have been updated as of 12/21/14 in google drive.
This module has 16 lessons. Key items needed are: pattern blocks, geoboards, rubber bands, student clocks (optional), and a demonstration clock. If you don't have enough or any Geoboards and you DO have iPads, there is a free app called Geoboards by The Math Learning Center. It is pretty cool. If you plan to use the Geoboard app, download it to your iPads ahead of time. For 8.13 and 8.14 you will need to run the clock template (it's in 8.13). Save it after the kids use it for 8.13 so they can use it for 8.14.***
8.1 - You need to make 4 charts. See the lesson. Save the charts for future lessons. Don't write the attributes down until after you draw the shapes and ask students to describe them.
8.2 - 4 charts from 8.1, sentence strips with shape names (triangle, quadrilateral, pentagon, and hexagon). In the edcaliber Materials and Templates folder for the 2nd grade Engage NY resources, you will find a folder in the Materials folder labeled 8.2 charts. There are ppt charts as well as jpg charts. Today you need containers of broken up spaghetti for each group of kids. They build 3, 4, 5, and 6 sided polygons with the random pieces. Each student needs a dark piece of 9x12 construction paper to place the spaghetti on.
8.3 - Large chart paper with four sections (triangles, quadrilaterals, pentagons, hexagons) titled: Polygons! Each student needs an 8.5x11 sheet of paper folded into 4 sections to draw polygons. I recommend cutting the paper ahead of time and passing out 4 little rectangles to each child or one at a time. Save time on cutting. Model how to draw a shape using a straight edge on your whiteboard if the kids don't know how to use a ruler to draw a straight line. It may take kids a while to draw a simple 3, 4, or 5-sided shape. Tip: Ask them if they want to learn a shortcut. Put 3 dots on the board and tell them you are going to play "dot to dot" and then discuss what you made and see if they can tell you how many dots they would need for a 4, 5, or 6-sided shape. It got students finishing the tasks quicker than if they had to randomly try to place a dot and then draw.
8.4 - 4 charts from 8.1
8.5 - Today students related a square to a cube. Definitely use marshmallows. I threw mine away because they were all sticky and had to substitute with Play-Doh; however, forming balls of the same size was a bit tricky. I'm thinking maybe I'll get skewers and the large marshmallows as a review or follow up. They would love it and it would be easier to manipulate and build. **For the Problem Set, it would be good to give students a cube (1 inch) or dice so they can answer the questions requiring them to reference it. You can buy them at Amazon.com
8.6 - Save the student tangram template that they cut out for lesson 8.7.* When the students cut out the Tangram, go slowly, step by step. There are kids who couldn't follow directions even when we went slowly so have a few extra templates on hand for them. I recommend having each child write their initials or name on their 7 pieces. Use marker so it's easy to see. They end up combining a square and the two small triangles with a partner so if they are marked as theirs it's easy to separate. Not only that, but towards the end of the lesson, they bring those 3 pieces to the carpet to try to construct a larger square with the rest of the class. It will be easy and fast to separate if they are labeled. If you have the kids build the "giant" square using tangrams on the carpet, have the students make the triangle first and bring it to the floor. They should slide the triangle to the class shape otherwise it will take forever for them to reconstruct their triangle! For the Problem Set, they will need a set of tangrams or the one they cut out and the words: Parallelogram, Square, and Triangle written somewhere for them to copy those words down for Problem 1.
8.8 - Students use pattern blocks to create composite shapes.
8.9 - Collect colored circle from students at the end of the lesson to use for 8.10. The Shaded Template is embedded in the ppt for this lesson so if you don't want to run copies and waste paper you don't have to.
8.11 - In the lesson, pg. 8.C.34, Part 3 is called "Drawing a Whole Circle from One Part to the Whole". They start talking about 1 fourth of a square, so this section should be about "Drawing a Whole Square...". In my ppt, this has been corrected to clear up any confusion. You should also make about 3 sets of the Labeled Fraction Templates on sturdy paper, cut them out, separate them by circle sets and rectangle sets using paperclips. You will need the circle sets for Part 2 of the Concept Development and the rectangle sets for Part 3 of the Concept Development. A good idea might be to put the sets in small Ziploks. Students do NOT need their "own" sets of the labeled fraction templates.
8.12 - You need to run copies of the square and rectangle templates. They are in the Mod 8 folder in Google Drive. If you follow the ppts, I made the squares blue, one set of rectangles (square) orange, one set of rectangles red, and one set green. Half the class needs blue squares (each template has 6 squares on it, so maybe 5 copies per class), half of the class needs an orange square (divided with a line down the middle for so it looks like two rectangles). Each template has 6 rectangles on it, and each student needs a red and a green rectangle (so run 5 red and 5 green). You will need to cut out these shapes to have ready for student use. *To save time, I'm only giving pairs 1 green rectangle and 1 red rectangle. I cut the rectangles out for the students. I plan to make a Ziplok bag for each pair that will contain: 1 blue square, 1 orange "square (divided into rectangles), 1 red rectangle, and 1 green rectangle.
8.13 - Sentence strips to post vocabulary: half past, a quarter past, and a quarter to. Run the clock template on cardstock for durability. You may want to use a highlighter to highlight the dotted line and tell the students to cut on that line. Even after modeling, I had some students cut all the way to the dark line. Use a thumbtack to punch a hole in the center of the clock and the two hands so the kids can easily push the brad through the thick paper. In Part 3, the lesson says "Show me 12 o'clock. Now move your minute hand to the 3." This time would be 3:15. Then later in the section it says, "Your clock should still show a quarter past 3." The ppt is consistent and says in the beginning of part 3, "Show three o'clock." Later in the section it says, "You clock should still show a quarter past 3."
8.14 - The students practice telling time to 5 minutes in this lesson.
8.15 - The Story Template is embedded in the ppt so you do not need to waste paper and make copies for the students unless you want to do it. Each story page is saved as a jpg file in a Mod8 template folder so you could upload the pages into nearpod and the kids could write the time on the screen and circle a.m. or p.m. or the students could open the file in Notability and make notes on the story like it asks you to do.
8.16 - This lesson is about elapsed time to the half hour and hour. It covers going from AM to PM so that may be a bit of a challenge. Students can use the arrow way and counting on to solve and calculate the elapsed time. You can use student clocks during the lesson. Students can work in pairs to share clocks. For the Problem Set, students may wish to use a student clock to help them solve the elapsed time problems.
Pacing Tips:
8.1-8.5 - Shape Attributes
8.13 - 8.16 - Telling Time