Module 6: Foundations of Multiplication and Division
This module has 20 lessons. You might notice that the Application Problem comes AFTER the Problem Set in the lesson quite a few times, especially if you are using my ppt slides. I accidentally skipped the first Application Problem that came after the Problem Set.
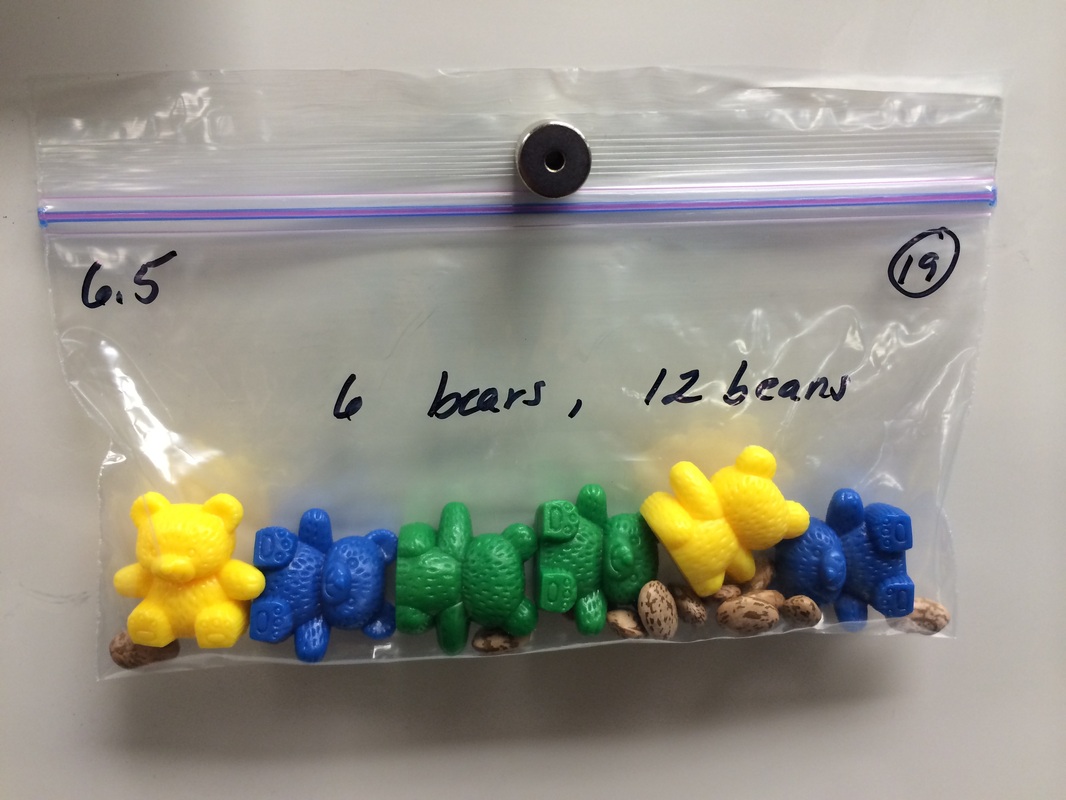
Students use a lot of the 1 inch tiles for this module. They also use bear counters though only for one lesson, but the last math series has the bear counters so check with Kinder teachers to see if they have any extra. In lesson 6.5 each student needs 6 bears so if you have a class of 25, you would need 150 bears. You will also need the counters, again. They suggest using lima beans or other kinds of beans, but anything that looks the same that you can count should be fine. Target doesn't sell lima beans.
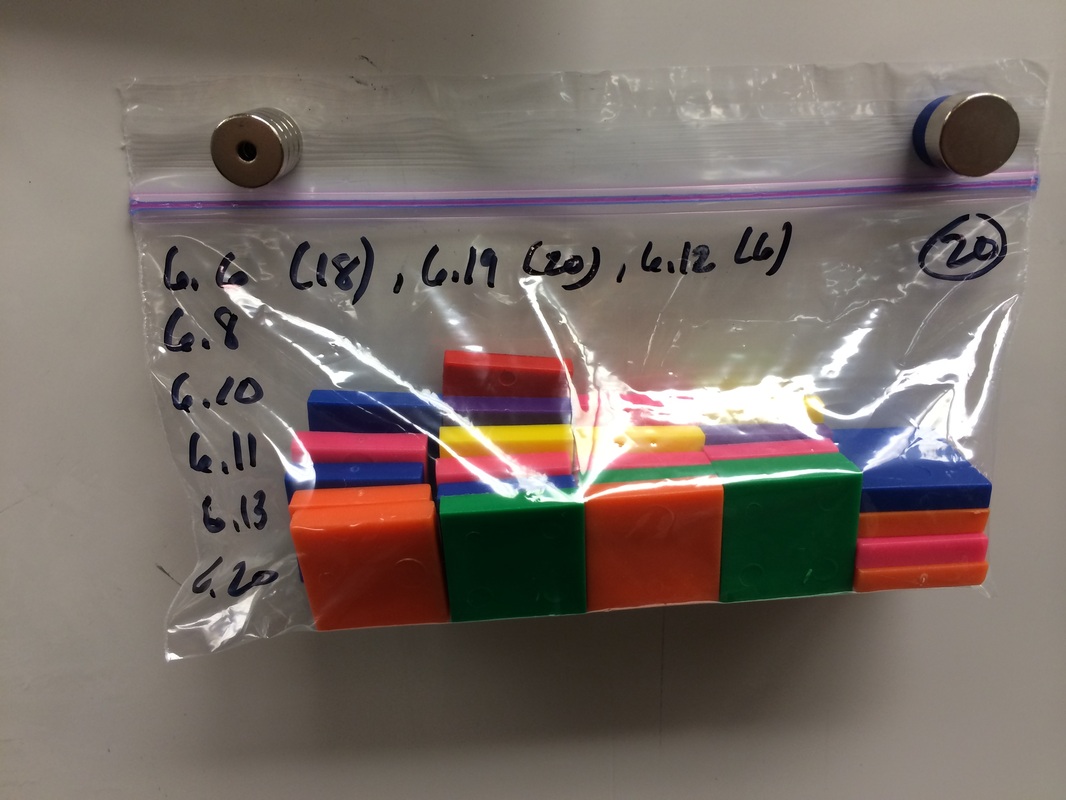
I would suggest bagging 25 of the inch tiles per baggie. The initial number of tiles required is 18, but later in the module it says you need 25, so just make bags of 25!
If you can get some magnetic squares for your whiteboard, they are great for the teacher demo during many of these lessons. You can find them for $6.00 at the Math Learning Center online. You only need about 25 and these come in bags of 60 so you and another teacher could split a bag.
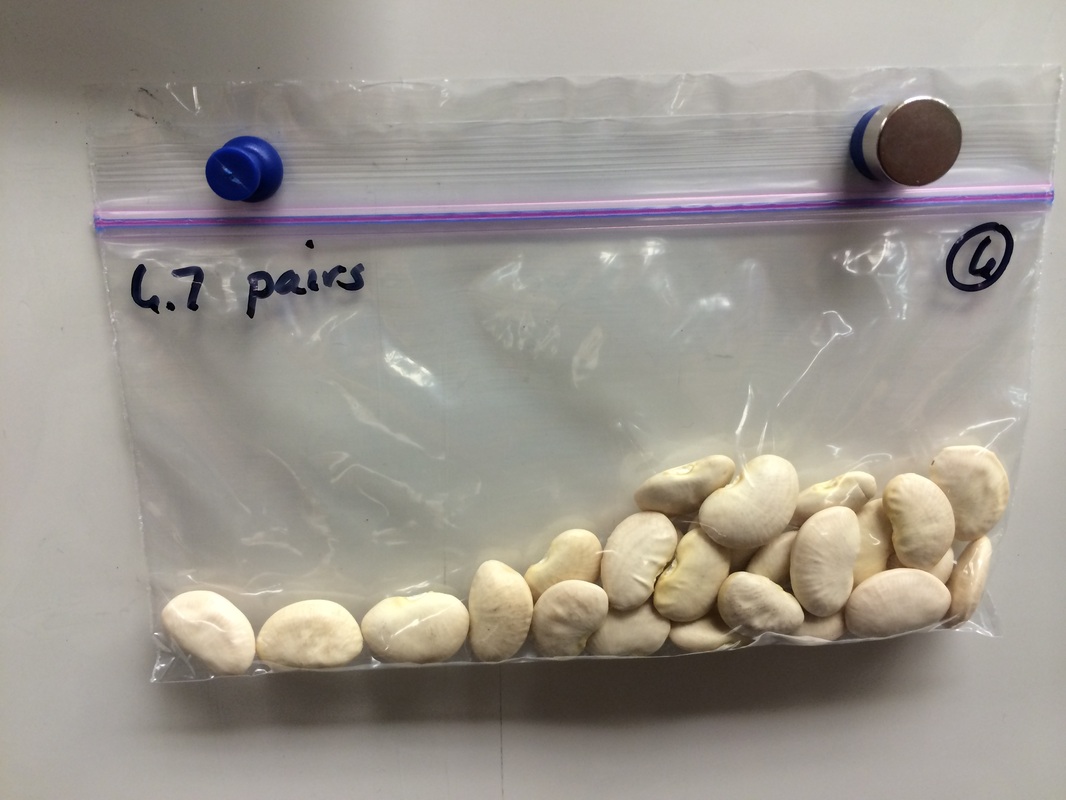
**When you prep for this Module, I would recommend using the counters with pairs otherwise they will mix them up and make a mess. I have my students using one bag per pair and it works great. No mixing up bags or counters and faster clean up!
**The Problem Sets in google docs have been updated for this module as of 12/11/14. They should match the workbooks now. Before, they were based on the teacher's guides we received that are not current. The discrepancies are likely very minor, but just the same all module problem sets will be updated in google drive.
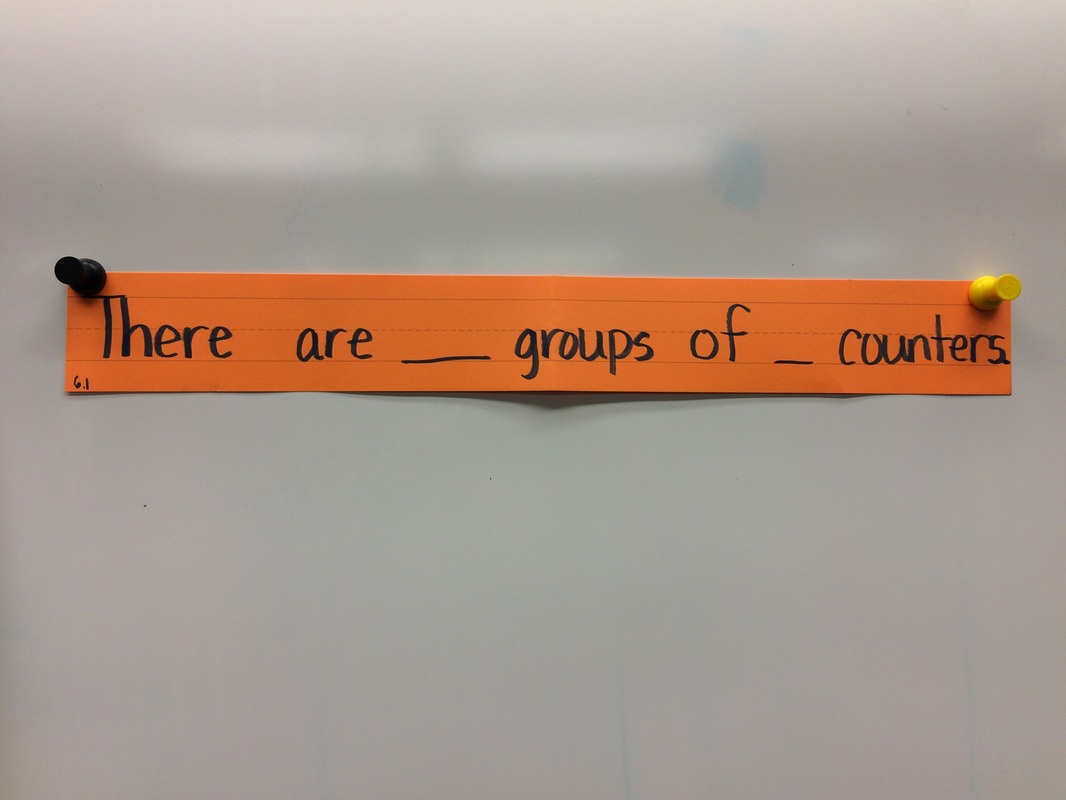
6.1 - Use bags of counters for pairs! You don't need a class set!********
6.2 - This lesson went super fast. They didn't use manipulatives and drew on their whiteboards. It was about writing repeated addition sentences to go with their drawings of "groups" and items in each group.
6.8 - This lesson was kind of fun because it was mostly hands on and the students got to make arrays using rows and then columns with the same number of tiles. The Application Problem comes AFTER the Problem Set in the lesson, but I don't give them time to do the Problem Set first. We jump ahead to Application Problem and then do the Problem Set after. For this Application Problem, students worked in pairs with the tiles to solve the problem instead of drawing out the answer.
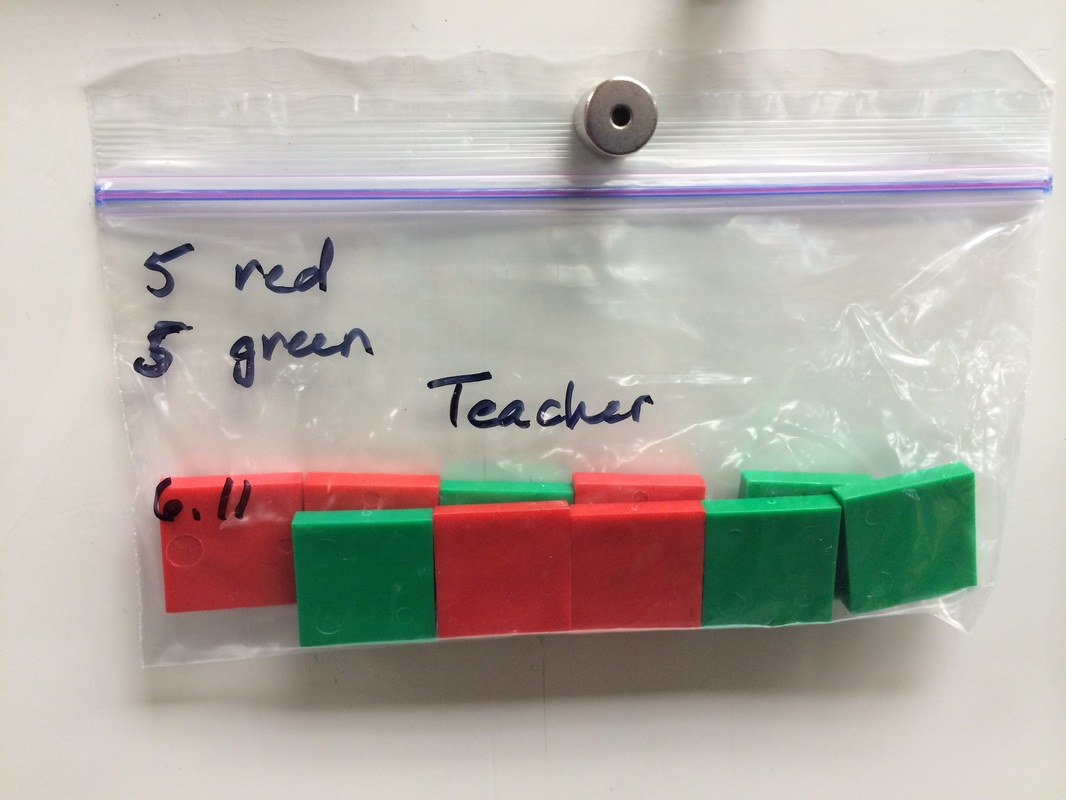
6.11 - For the demo it says you need 5 green and 5 red tiles. It really doesn't matter which color you have; however, if you have magnetic square tiles those are really cool to use on the whiteboard. You don't need a doc cam to display them.
6.13 - The Problem Set was a bit unrealistic. The entire page had instructions and very little room to draw or write so I ended up having the students share a bag of tiles to construct whatever they were supposed to make according to the directions. I posted the directions using the projector and Notability. After the students did their work, I offered to write down the number bond which was a little tricky as they had the students segment the array, but not in equal parts. Then they asked the students to write the repeated addition sentences. It was odd. I just referred to the lesson and basically if the two parts were "8" and "2" the number sentence would be "2+2+2+2.....+2". In essence, they just broke up the 8 into the equal parts.
6.14 - Make sure you have the templates for the students run before you do the lesson. Each student needs their own copy of the template that they can cut out. For this lesson, the Concept Development is the Problem Set. Students work on the Problem Set as you guide them through each problem. There was no Application Problem for this lesson.
6.15 - This lesson also has students do the Problem Set during the Concept Development.
6.16 - In this lesson, students do the Problem Set during Concept Development. This lesson was overwhelming for the kids. Following directions is huge! If they don't listen and cut out the template the wrong way, they will not have enough for a group of 4 students to have two rows of squares.** Have extra copies available. Go slowly. *I don't think this lesson was worth doing. The lessons following it have nothing to do with it and it was an exercise in frustration. SKIP THIS LESSON.
6.17 - This was a lesson focusing on doubles. It's the first lesson in Topic D: Even and Odd Numbers.
6.18 - Students explore what it takes to make even numbers: Even + Even = Even. Odd + Odd = Even. Lots of hands on time with counters. They discovered that arrays don't have anything sticking out. Every counter has a partner.
This module has 20 lessons. You might notice that the Application Problem comes AFTER the Problem Set in the lesson quite a few times, especially if you are using my ppt slides. I accidentally skipped the first Application Problem that came after the Problem Set.
Students use a lot of the 1 inch tiles for this module. They also use bear counters though only for one lesson, but the last math series has the bear counters so check with Kinder teachers to see if they have any extra. In lesson 6.5 each student needs 6 bears so if you have a class of 25, you would need 150 bears. You will also need the counters, again. They suggest using lima beans or other kinds of beans, but anything that looks the same that you can count should be fine. Target doesn't sell lima beans.
I would suggest bagging 25 of the inch tiles per baggie. The initial number of tiles required is 18, but later in the module it says you need 25, so just make bags of 25!
If you can get some magnetic squares for your whiteboard, they are great for the teacher demo during many of these lessons. You can find them for $6.00 at the Math Learning Center online. You only need about 25 and these come in bags of 60 so you and another teacher could split a bag.
**When you prep for this Module, I would recommend using the counters with pairs otherwise they will mix them up and make a mess. I have my students using one bag per pair and it works great. No mixing up bags or counters and faster clean up!
**The Problem Sets in google docs have been updated for this module as of 12/11/14. They should match the workbooks now. Before, they were based on the teacher's guides we received that are not current. The discrepancies are likely very minor, but just the same all module problem sets will be updated in google drive.
6.1 - Use bags of counters for pairs! You don't need a class set!********
6.2 - This lesson went super fast. They didn't use manipulatives and drew on their whiteboards. It was about writing repeated addition sentences to go with their drawings of "groups" and items in each group.
6.8 - This lesson was kind of fun because it was mostly hands on and the students got to make arrays using rows and then columns with the same number of tiles. The Application Problem comes AFTER the Problem Set in the lesson, but I don't give them time to do the Problem Set first. We jump ahead to Application Problem and then do the Problem Set after. For this Application Problem, students worked in pairs with the tiles to solve the problem instead of drawing out the answer.
6.11 - For the demo it says you need 5 green and 5 red tiles. It really doesn't matter which color you have; however, if you have magnetic square tiles those are really cool to use on the whiteboard. You don't need a doc cam to display them.
6.13 - The Problem Set was a bit unrealistic. The entire page had instructions and very little room to draw or write so I ended up having the students share a bag of tiles to construct whatever they were supposed to make according to the directions. I posted the directions using the projector and Notability. After the students did their work, I offered to write down the number bond which was a little tricky as they had the students segment the array, but not in equal parts. Then they asked the students to write the repeated addition sentences. It was odd. I just referred to the lesson and basically if the two parts were "8" and "2" the number sentence would be "2+2+2+2.....+2". In essence, they just broke up the 8 into the equal parts.
6.14 - Make sure you have the templates for the students run before you do the lesson. Each student needs their own copy of the template that they can cut out. For this lesson, the Concept Development is the Problem Set. Students work on the Problem Set as you guide them through each problem. There was no Application Problem for this lesson.
6.15 - This lesson also has students do the Problem Set during the Concept Development.
6.16 - In this lesson, students do the Problem Set during Concept Development. This lesson was overwhelming for the kids. Following directions is huge! If they don't listen and cut out the template the wrong way, they will not have enough for a group of 4 students to have two rows of squares.** Have extra copies available. Go slowly. *I don't think this lesson was worth doing. The lessons following it have nothing to do with it and it was an exercise in frustration. SKIP THIS LESSON.
6.17 - This was a lesson focusing on doubles. It's the first lesson in Topic D: Even and Odd Numbers.
6.18 - Students explore what it takes to make even numbers: Even + Even = Even. Odd + Odd = Even. Lots of hands on time with counters. They discovered that arrays don't have anything sticking out. Every counter has a partner.