Module 4: Addition and Subtraction Within 200 with Word Problems to 100
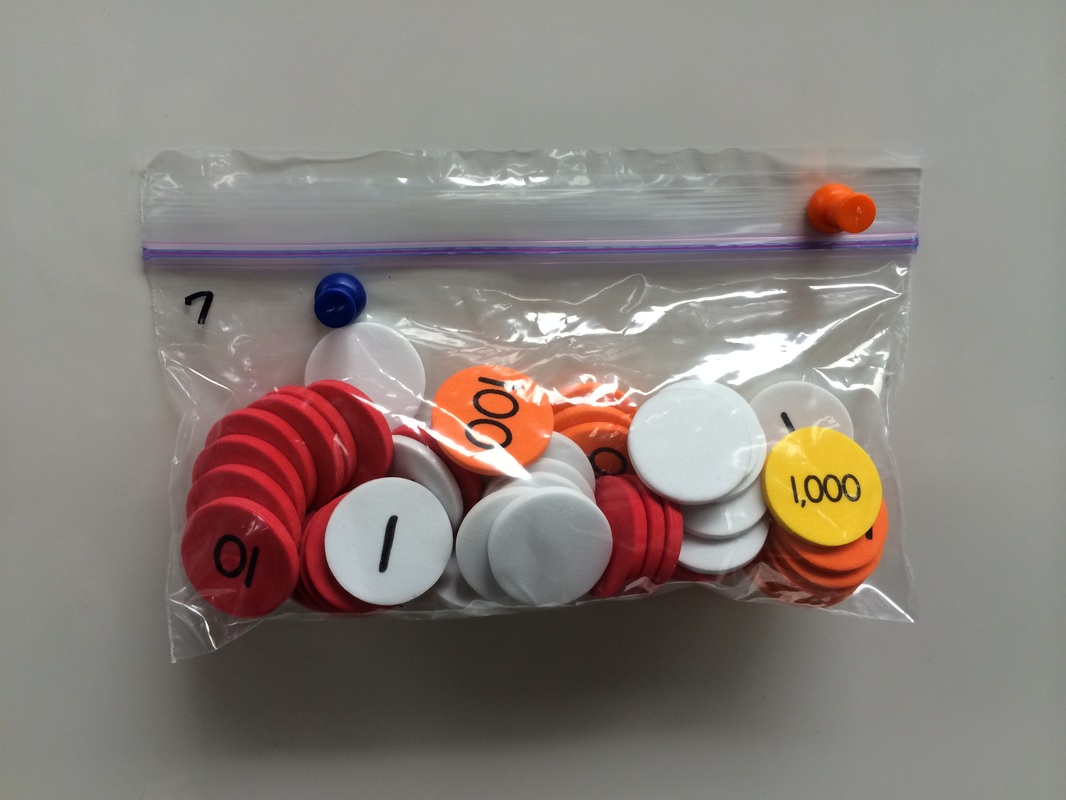
This module has 31 lessons. Number disks, also known as Place Value Disks, are used quite often in this module. If you packaged the way that was suggested from Module 3, then you will have plenty of Number Disks in each baggie that pairs will share. The optimal number again for number disks per pair is: 1 thousand, 10 hundreds, 18 tens, and 19 ones. I ended up adding 2 more tens to make 20 tens to each bag from a lesson in Module 3, but you can always work around that.
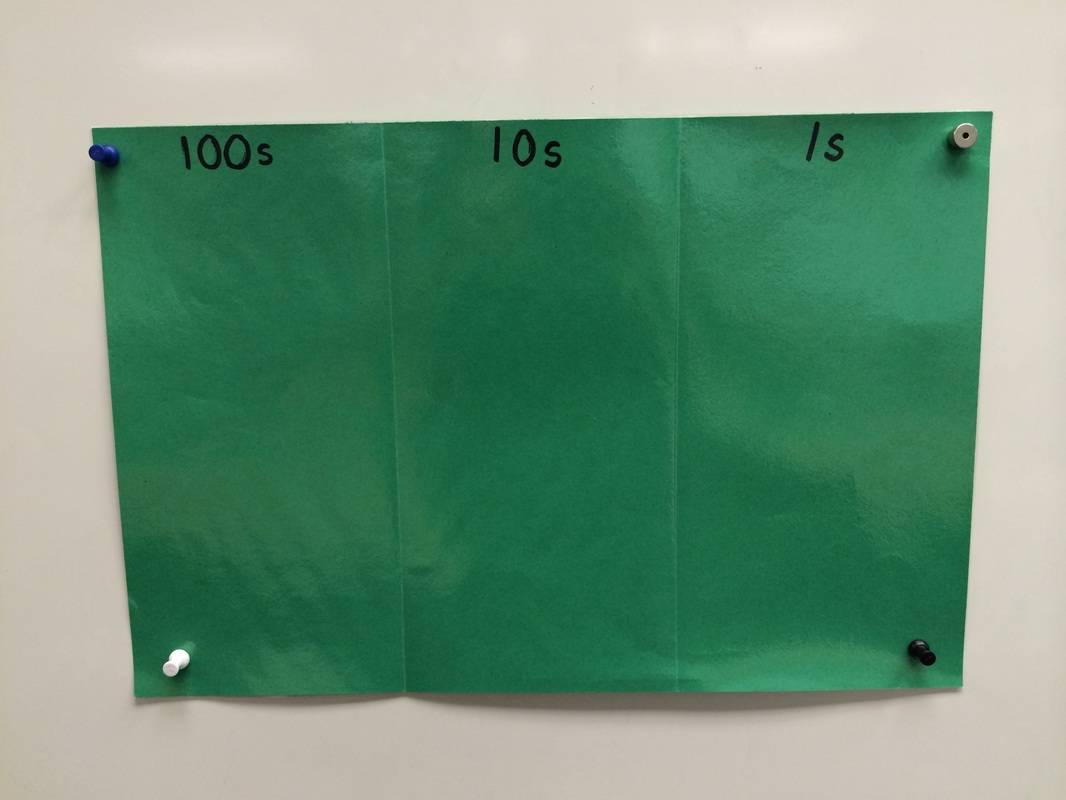
Since they recommend laying out the number disks in 5-group rows, folding a 12x18 piece of construction paper into 1/3s and laminating will leave the perfect amount of space for 5-count rows in each column of the place value chart. This is a fast-moving, yet possibly confusing module for kids. There is no transition between teaching subtraction and addition. By fast-moving, I mean, the lessons seem to be shorter.
Some of the Problem Sets have too many problems and not enough space. I just eliminated half of the problems at times on one side just so they would have more workspace.
**The Problem Sets in google docs have been updated for this module as of 12/11/14. They should match the workbooks now. Before, they were based on the teacher's guides we received that are not current.
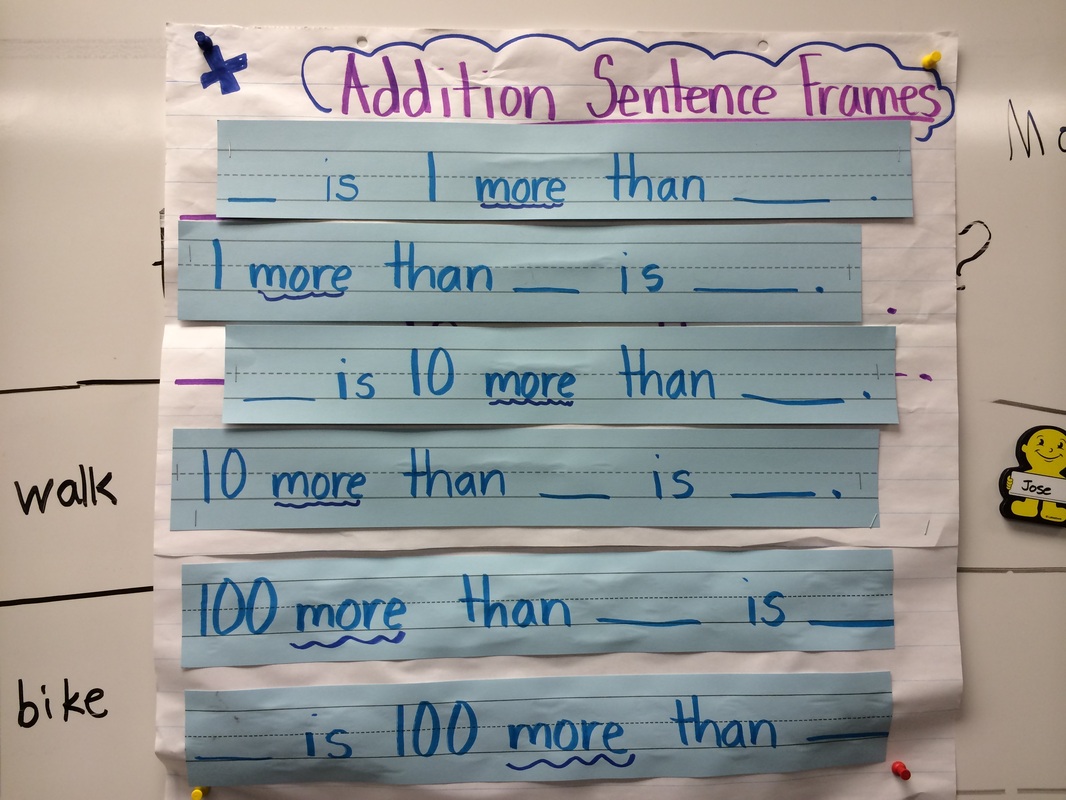
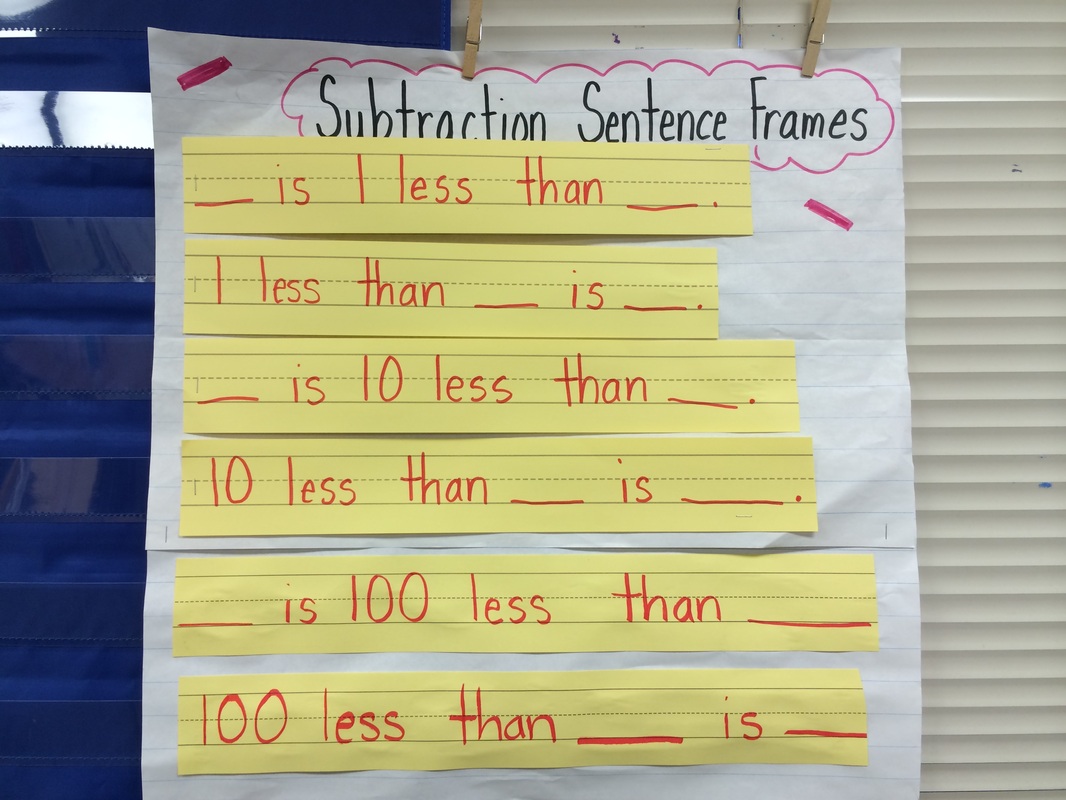
4.1 In this lesson, arrow notation (arrow way) is introduced. It's like counting on a number line or counting on with arrows and the number above the arrow with a + or - sign. You should make an Addition Sentence Frame and Subtraction Sentence Frame poster/chart. See the sample picture below.
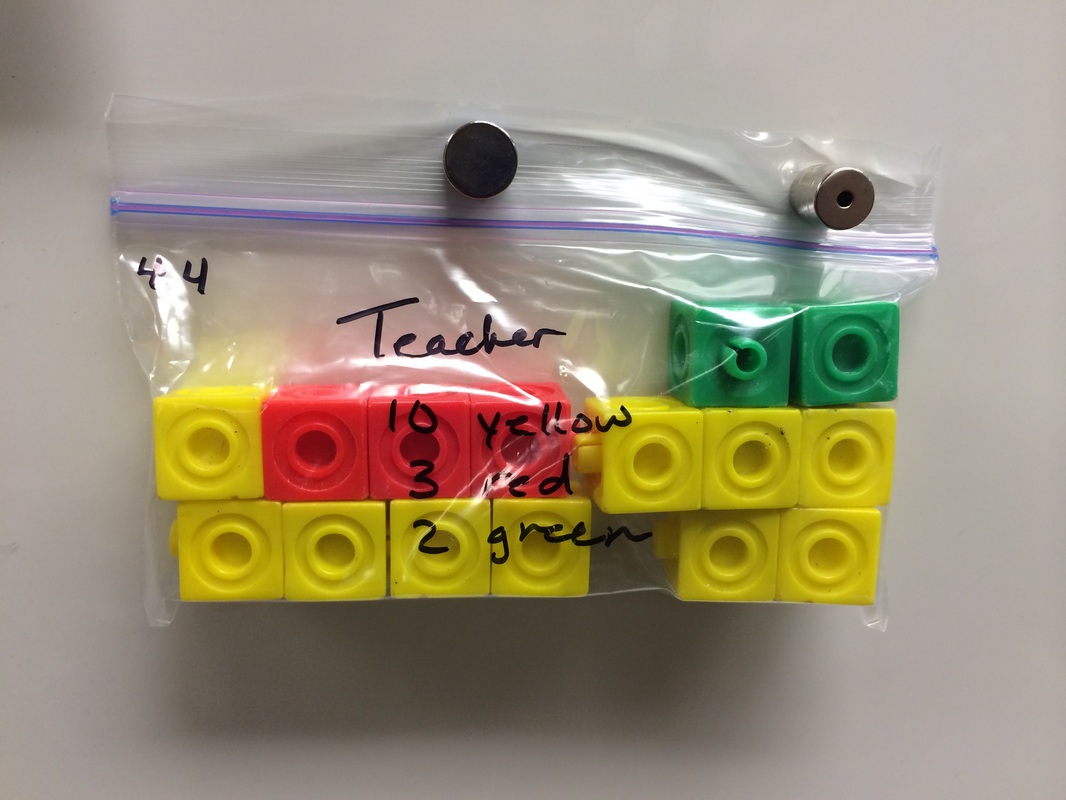
4.4 In this lesson, students jump in and work on tape diagrams. Heads up! They introduce BOTH addition and subtraction and that may be confusing for the kids. Mine were confused because for subtraction they need to "add, add" to both numbers and for addition they "subtract from one and add to the other". It's the whole purpose of the teacher demo with the cubes at the beginning of the lesson. And, subtraction uses 2 tape diagrams while addition uses only one. Be prepared to review this lesson or you can break it up and focus on addition one day and subtraction the next. I walked them through all of the problem set. We came back from lunch and did whiteboard work focusing only on subtraction first.
4.5 The lesson indicates that there is a Sprint; however, it doesn't exist. Click on the Sprint here and you can download the sprint I am using for my students.
4.7 Students transition into vertical addition in this lesson. New Groups Below (NGB) is introduced in this lesson. Students indicate the 10 on the line below the algorithm in the tens column, thus the term "New Groups Below".
4.9 Students transition even farther away from the hands-on concrete by representing the problem using a "chip diagram" or "chip model". Basically, it's a place value chart with drawings (dots) to represent hundreds, tens, and ones.
4.11 In this lesson, students jump right into subtraction. They may be confused since there is no transition. The important thing to remember is that when they use number disks or a "chip diagram" (drawing), then they only need to represent the WHOLE because you will take part away from it. Make sure they have plenty of hands-on time with the number disks and focus on the drawings. If you show them the algorithm work at the same time, it may be a bit much. The lesson does seem to focus only on the representation though. **You may want to start introducing how to check your work with subtraction problems by doing "addition". It comes up in Mod. 5 and it will help you perhaps skip some of those lessons.
4.12 Now the focus starts to include the algorithm to match their drawings. This is where some kids have a hard time. I did one step at a time. If I did something in my diagram, I went over to my algorithm to show them how to reflect that work. Many days will be spent working on this, so keep telling the kids you will continue to practice this!
4.17 In this lesson, the original ppt I posted left out part of the lesson for the teacher to reference in the scripted lesson, but I updated the lesson and that portion is now included so you don't need to go back to the script. If there is a v2 by the lesson, then it's the new version! This lesson was a little challenge for those kids who are still not too strong with their math facts. It required adding hundreds, tens, and ones with words and numbers. It includes regrouping so some students were confused because they weren't thinking about "regrouping" in this manner.
4.29 Totals Below is introduced in this lesson. 18+ 25 = 10 + 8 and 20 + 5. Add the tens to make 30 and add the ones to make 13. 30+13=43. As fun as I thought the lesson would be, students struggled with alignment. They were putting numbers anywhere and even though they got the answer right I made them go back and line things up. They would put the "1" for the 100 with the ones that they added. I used colored markers to box each column vertically and then the same color horizontally where the numbers went after you added that column. It helped many of them see where to place the numbers they added.
4.30 - As suggested in the pacing guide, you could skip this if you didn't want the students to practice "Totals Below" again. All this lesson does is compare "Totals Below" and the "New Groups Below" (algorithm).
4.31 - Wow. That lesson was brutal. The students didn't enjoy it. It's all about word problems. It was very tough to do the two-step problems. Even the problem set had to be done with them except for the one-step problem.
This module has 31 lessons. Number disks, also known as Place Value Disks, are used quite often in this module. If you packaged the way that was suggested from Module 3, then you will have plenty of Number Disks in each baggie that pairs will share. The optimal number again for number disks per pair is: 1 thousand, 10 hundreds, 18 tens, and 19 ones. I ended up adding 2 more tens to make 20 tens to each bag from a lesson in Module 3, but you can always work around that.
Since they recommend laying out the number disks in 5-group rows, folding a 12x18 piece of construction paper into 1/3s and laminating will leave the perfect amount of space for 5-count rows in each column of the place value chart. This is a fast-moving, yet possibly confusing module for kids. There is no transition between teaching subtraction and addition. By fast-moving, I mean, the lessons seem to be shorter.
Some of the Problem Sets have too many problems and not enough space. I just eliminated half of the problems at times on one side just so they would have more workspace.
**The Problem Sets in google docs have been updated for this module as of 12/11/14. They should match the workbooks now. Before, they were based on the teacher's guides we received that are not current.
4.1 In this lesson, arrow notation (arrow way) is introduced. It's like counting on a number line or counting on with arrows and the number above the arrow with a + or - sign. You should make an Addition Sentence Frame and Subtraction Sentence Frame poster/chart. See the sample picture below.
4.4 In this lesson, students jump in and work on tape diagrams. Heads up! They introduce BOTH addition and subtraction and that may be confusing for the kids. Mine were confused because for subtraction they need to "add, add" to both numbers and for addition they "subtract from one and add to the other". It's the whole purpose of the teacher demo with the cubes at the beginning of the lesson. And, subtraction uses 2 tape diagrams while addition uses only one. Be prepared to review this lesson or you can break it up and focus on addition one day and subtraction the next. I walked them through all of the problem set. We came back from lunch and did whiteboard work focusing only on subtraction first.
4.5 The lesson indicates that there is a Sprint; however, it doesn't exist. Click on the Sprint here and you can download the sprint I am using for my students.
4.7 Students transition into vertical addition in this lesson. New Groups Below (NGB) is introduced in this lesson. Students indicate the 10 on the line below the algorithm in the tens column, thus the term "New Groups Below".
4.9 Students transition even farther away from the hands-on concrete by representing the problem using a "chip diagram" or "chip model". Basically, it's a place value chart with drawings (dots) to represent hundreds, tens, and ones.
4.11 In this lesson, students jump right into subtraction. They may be confused since there is no transition. The important thing to remember is that when they use number disks or a "chip diagram" (drawing), then they only need to represent the WHOLE because you will take part away from it. Make sure they have plenty of hands-on time with the number disks and focus on the drawings. If you show them the algorithm work at the same time, it may be a bit much. The lesson does seem to focus only on the representation though. **You may want to start introducing how to check your work with subtraction problems by doing "addition". It comes up in Mod. 5 and it will help you perhaps skip some of those lessons.
4.12 Now the focus starts to include the algorithm to match their drawings. This is where some kids have a hard time. I did one step at a time. If I did something in my diagram, I went over to my algorithm to show them how to reflect that work. Many days will be spent working on this, so keep telling the kids you will continue to practice this!
4.17 In this lesson, the original ppt I posted left out part of the lesson for the teacher to reference in the scripted lesson, but I updated the lesson and that portion is now included so you don't need to go back to the script. If there is a v2 by the lesson, then it's the new version! This lesson was a little challenge for those kids who are still not too strong with their math facts. It required adding hundreds, tens, and ones with words and numbers. It includes regrouping so some students were confused because they weren't thinking about "regrouping" in this manner.
4.29 Totals Below is introduced in this lesson. 18+ 25 = 10 + 8 and 20 + 5. Add the tens to make 30 and add the ones to make 13. 30+13=43. As fun as I thought the lesson would be, students struggled with alignment. They were putting numbers anywhere and even though they got the answer right I made them go back and line things up. They would put the "1" for the 100 with the ones that they added. I used colored markers to box each column vertically and then the same color horizontally where the numbers went after you added that column. It helped many of them see where to place the numbers they added.
4.30 - As suggested in the pacing guide, you could skip this if you didn't want the students to practice "Totals Below" again. All this lesson does is compare "Totals Below" and the "New Groups Below" (algorithm).
4.31 - Wow. That lesson was brutal. The students didn't enjoy it. It's all about word problems. It was very tough to do the two-step problems. Even the problem set had to be done with them except for the one-step problem.
Additional Module 4 resources:
Add Within 100 Using Base Ten Blocks
Add Within 100 Using Base Ten Blocks
